

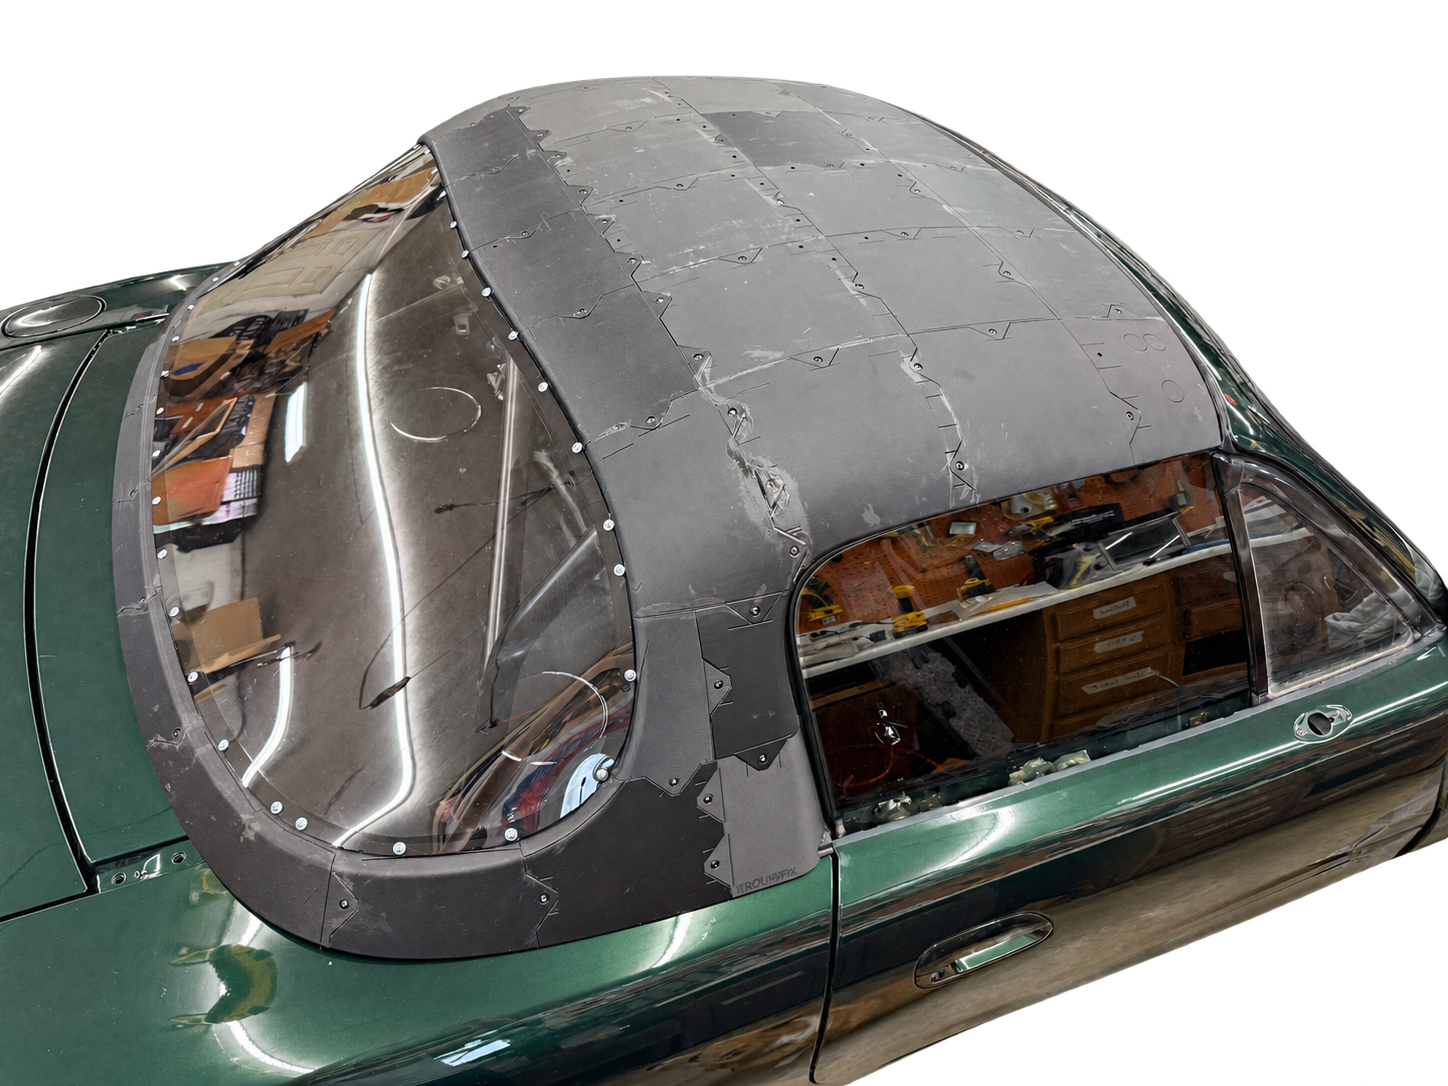
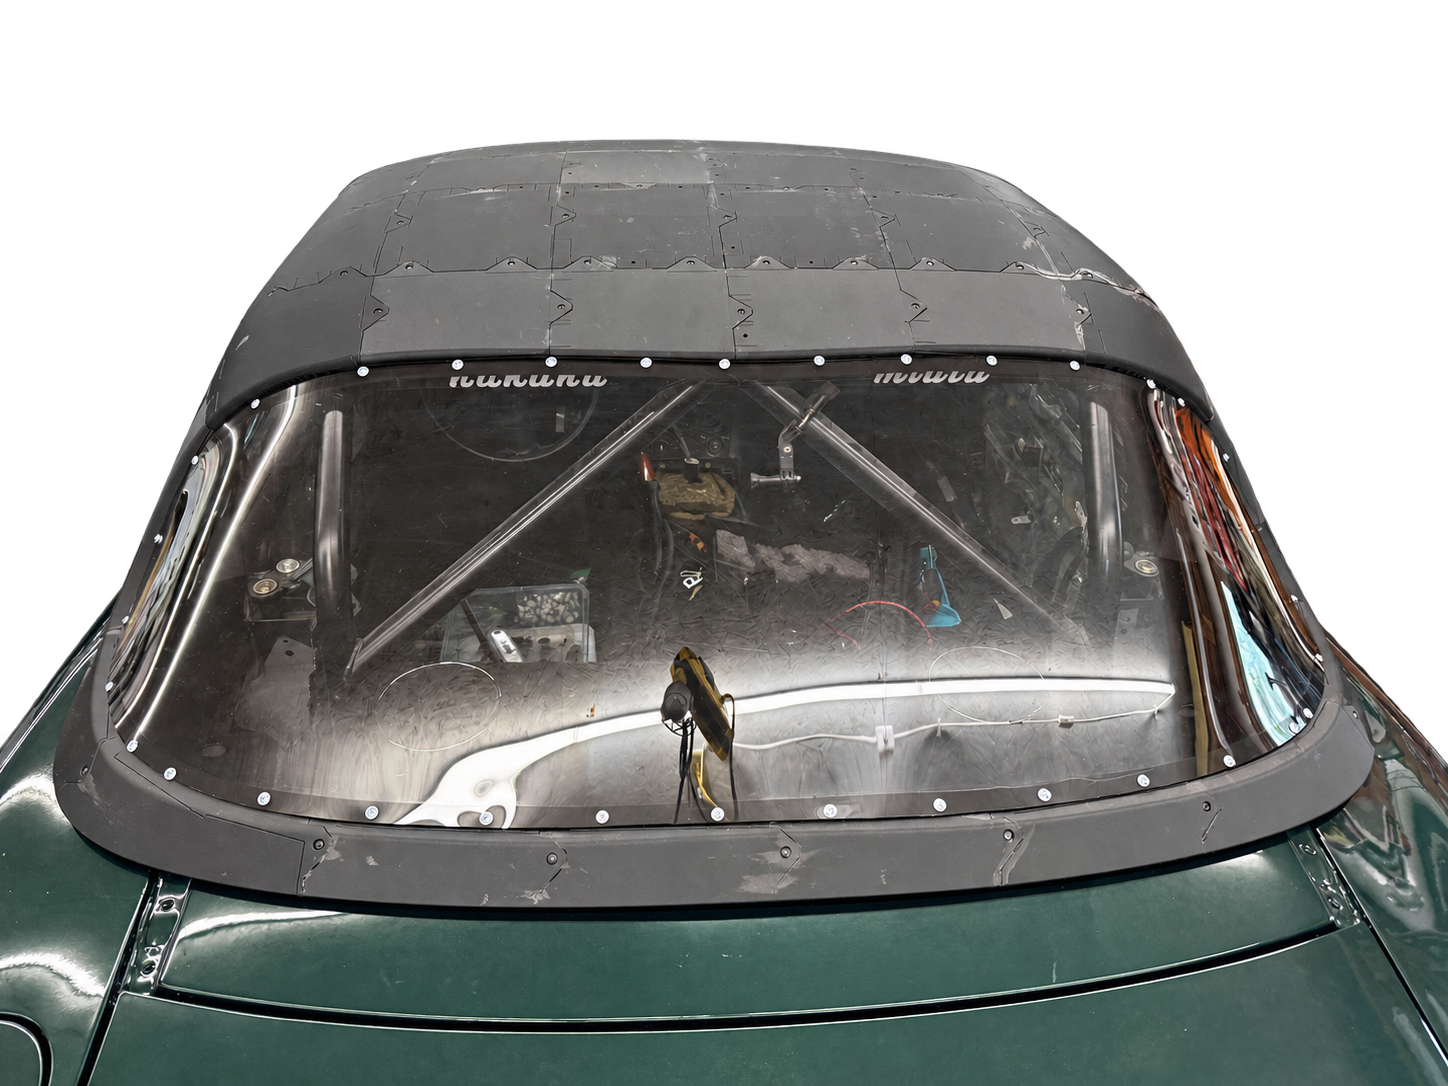
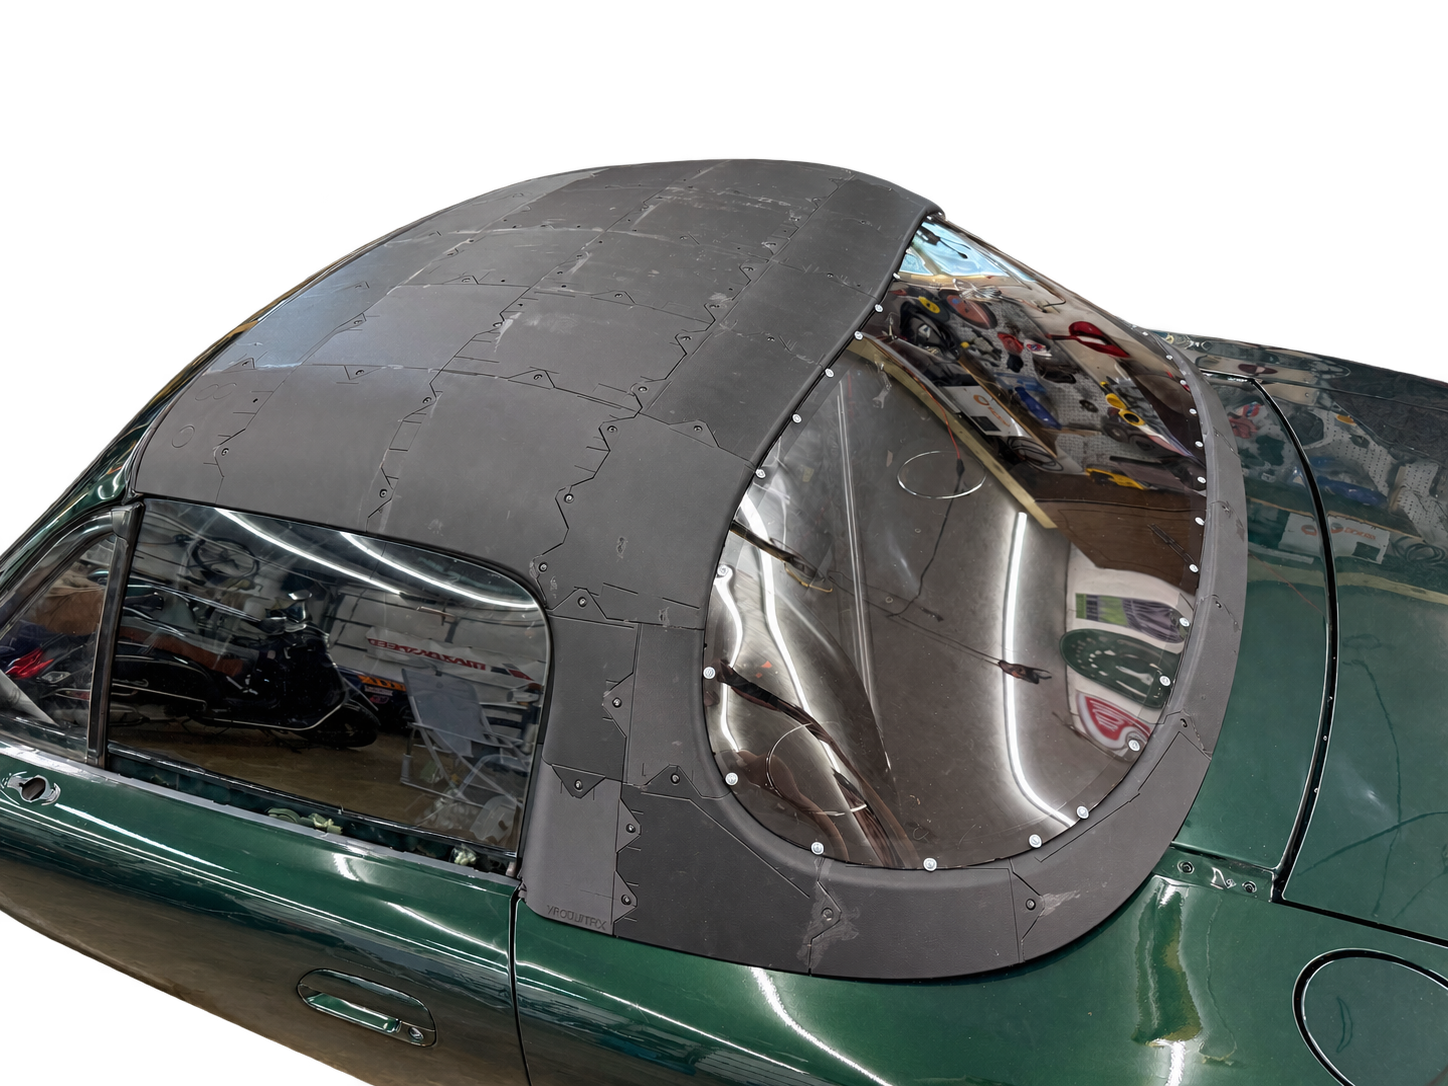
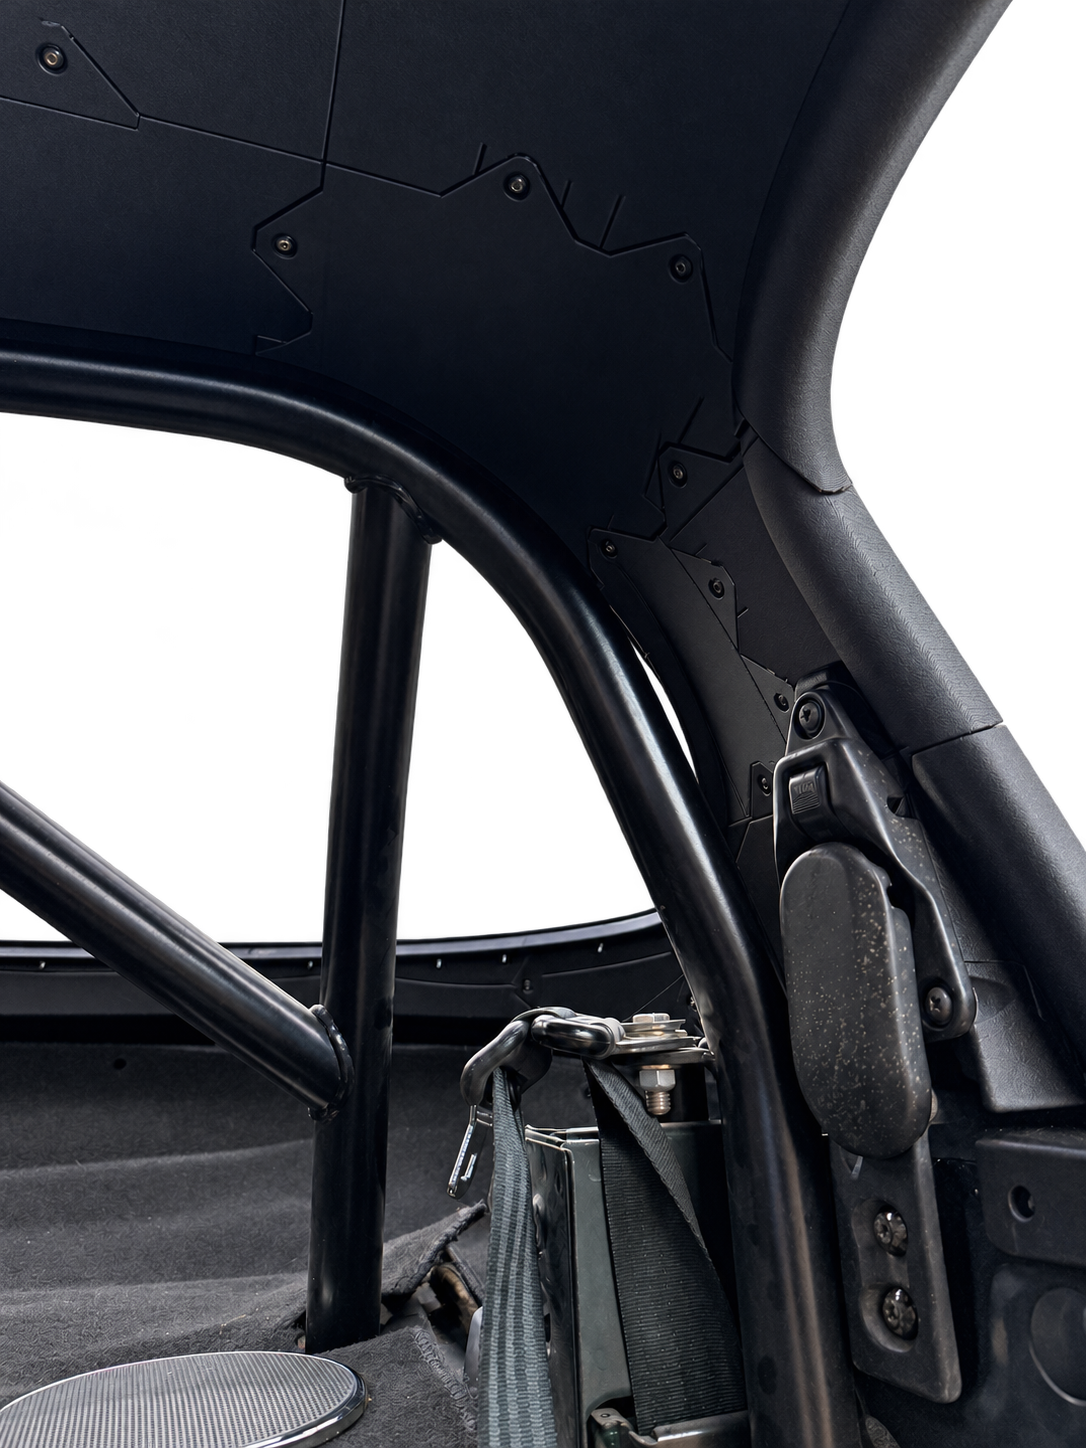
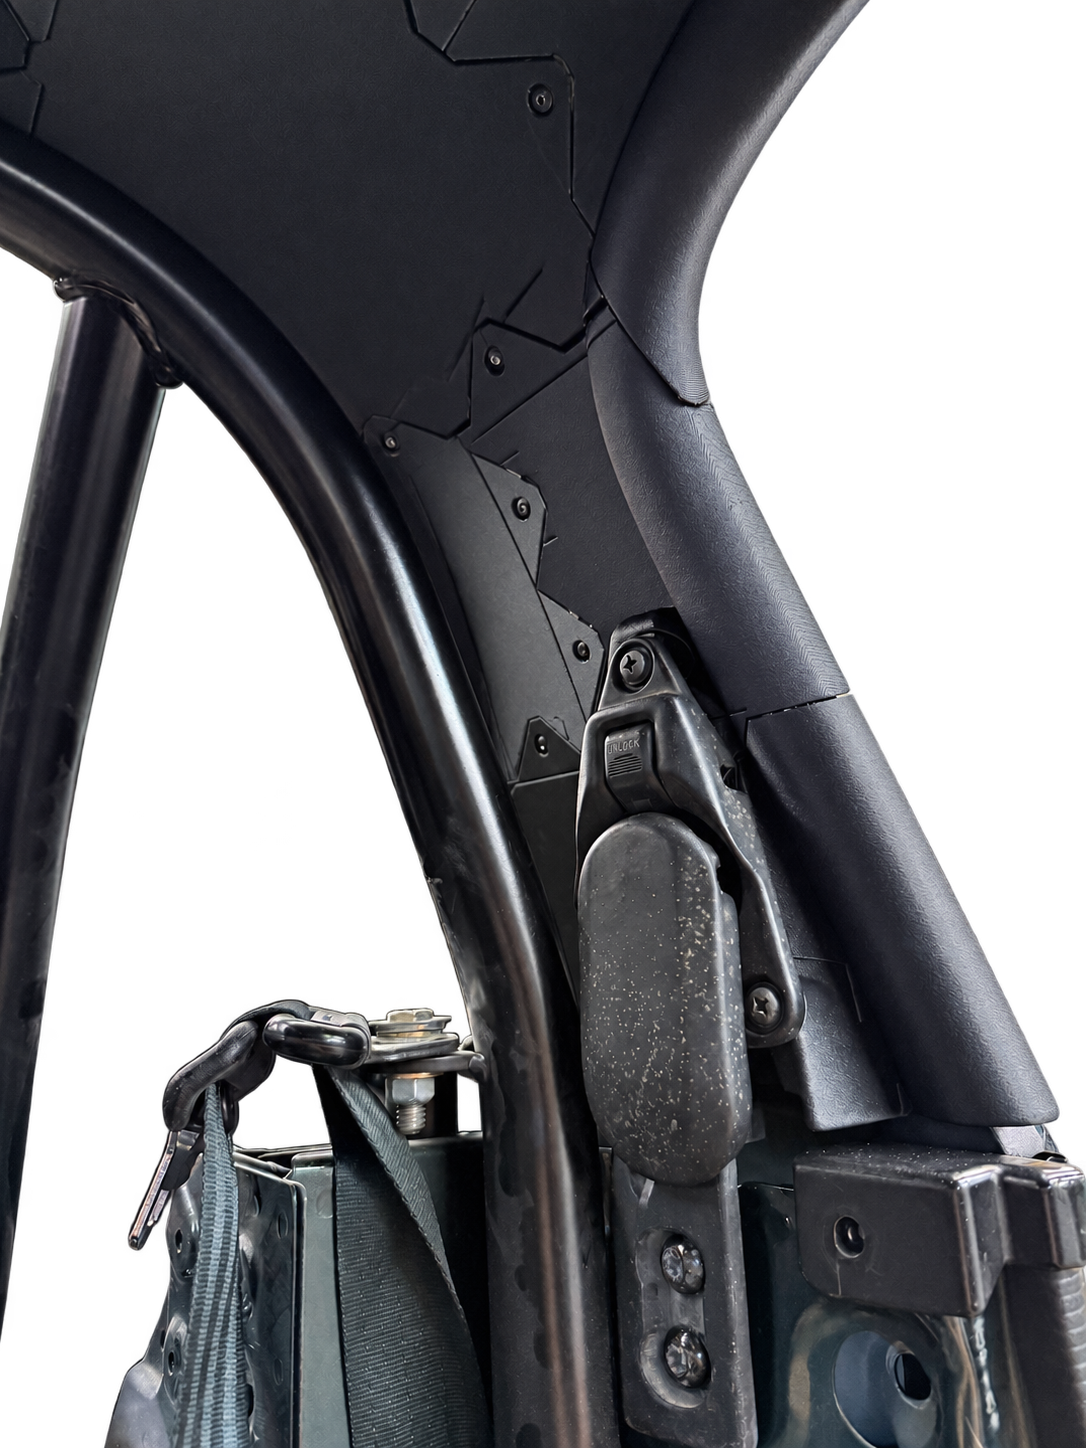
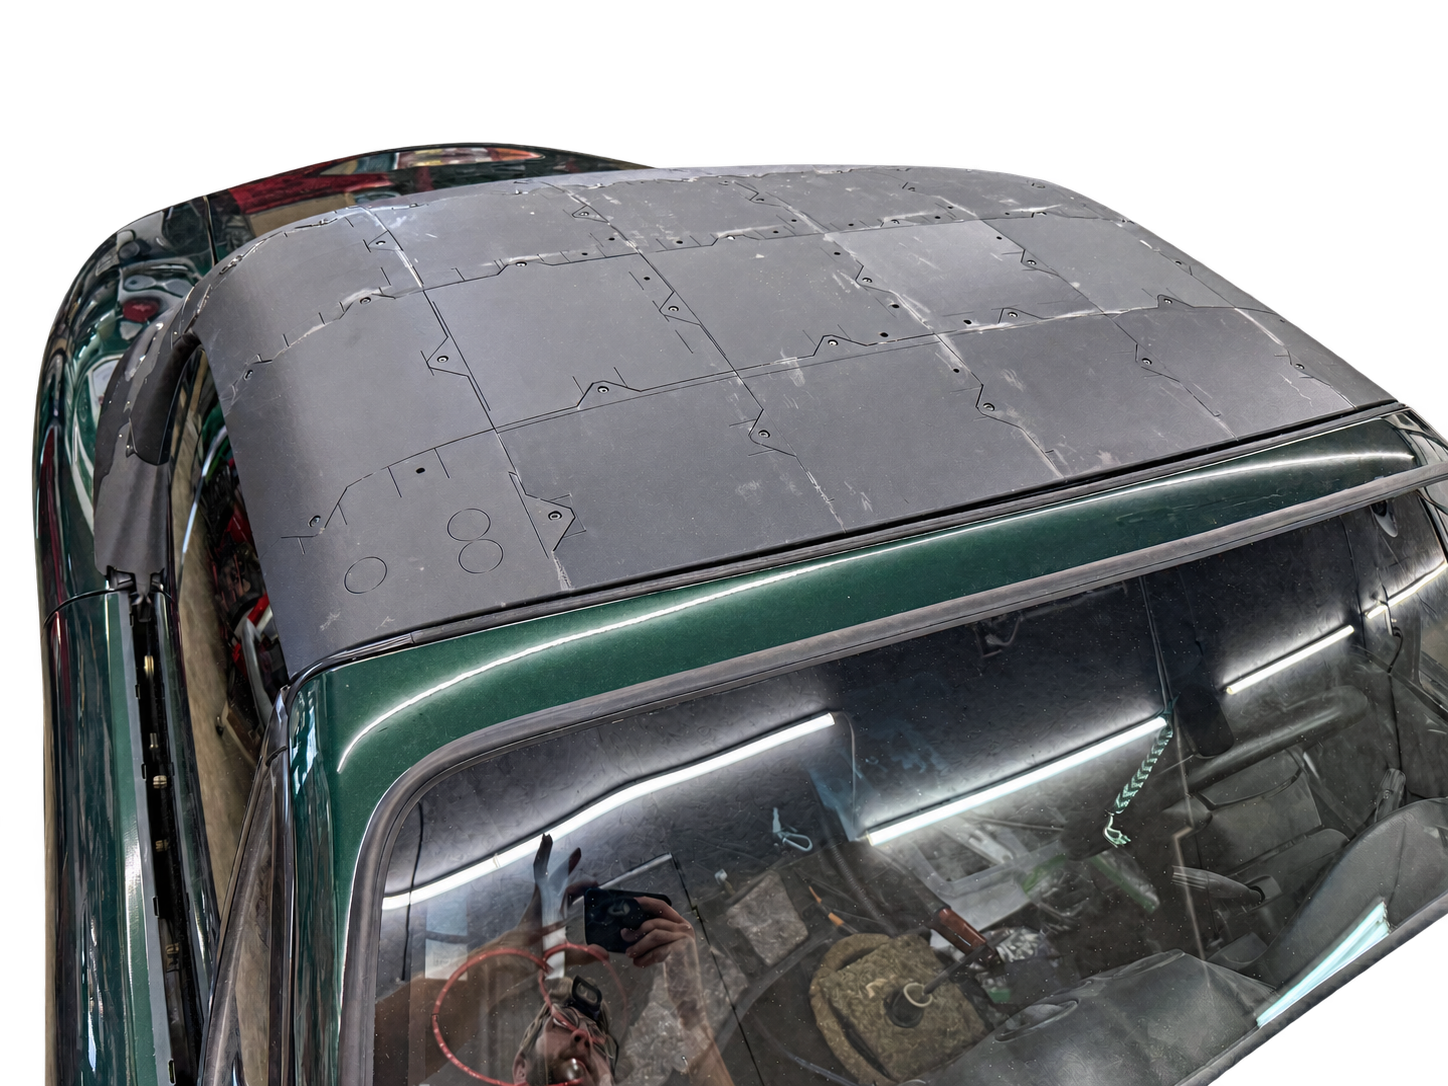
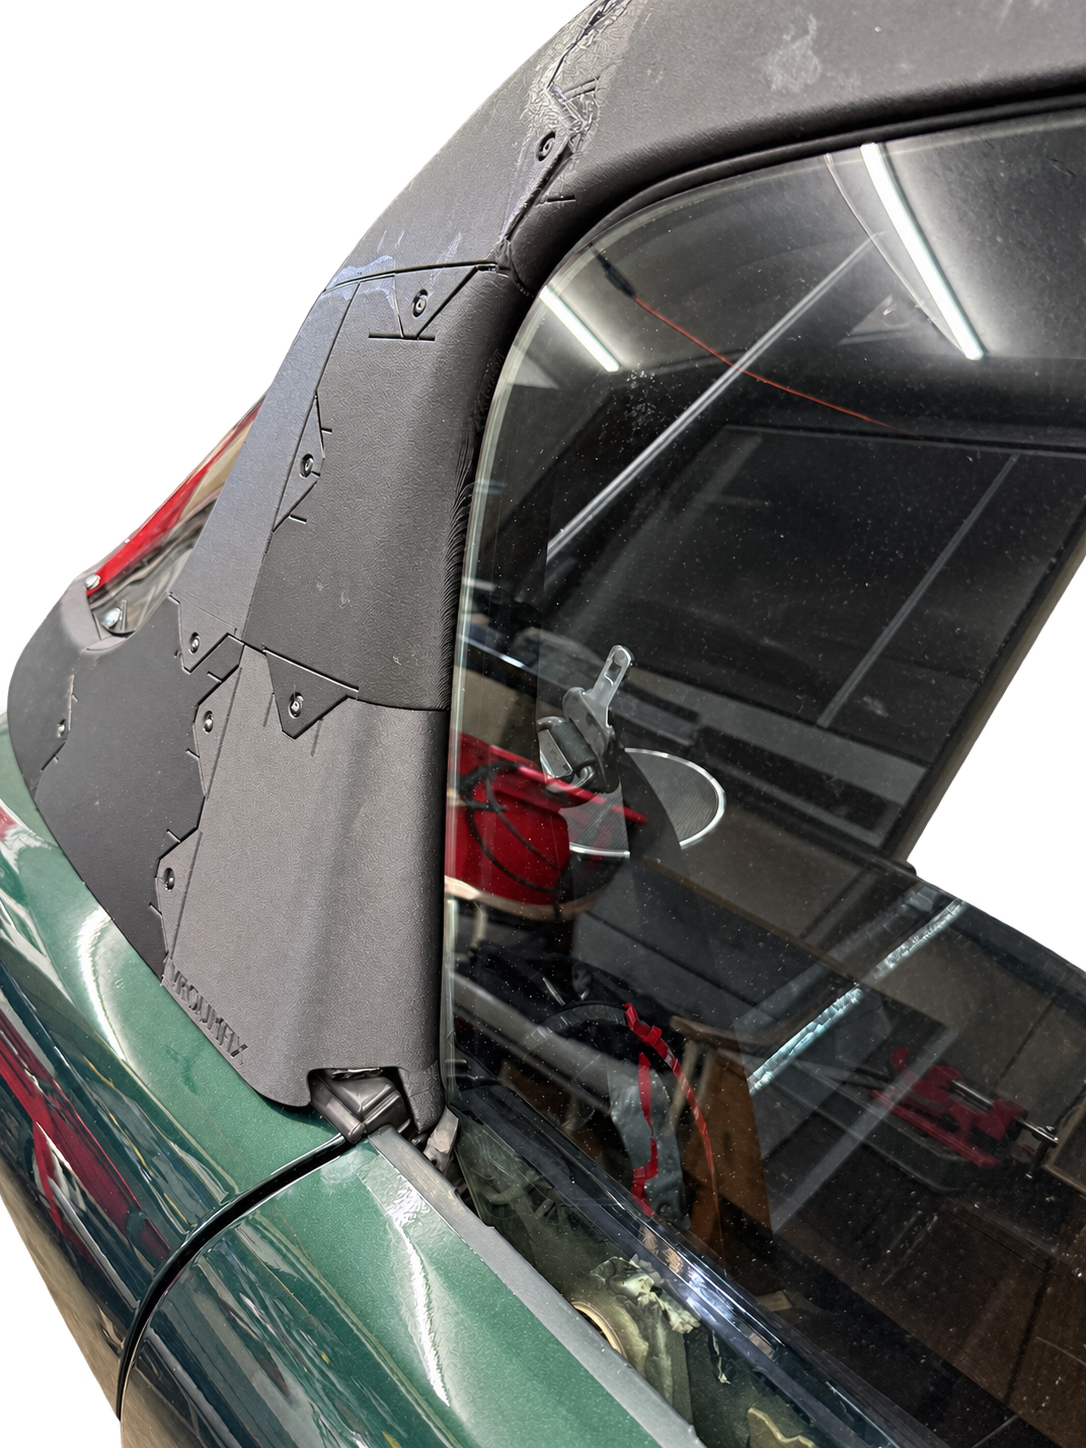
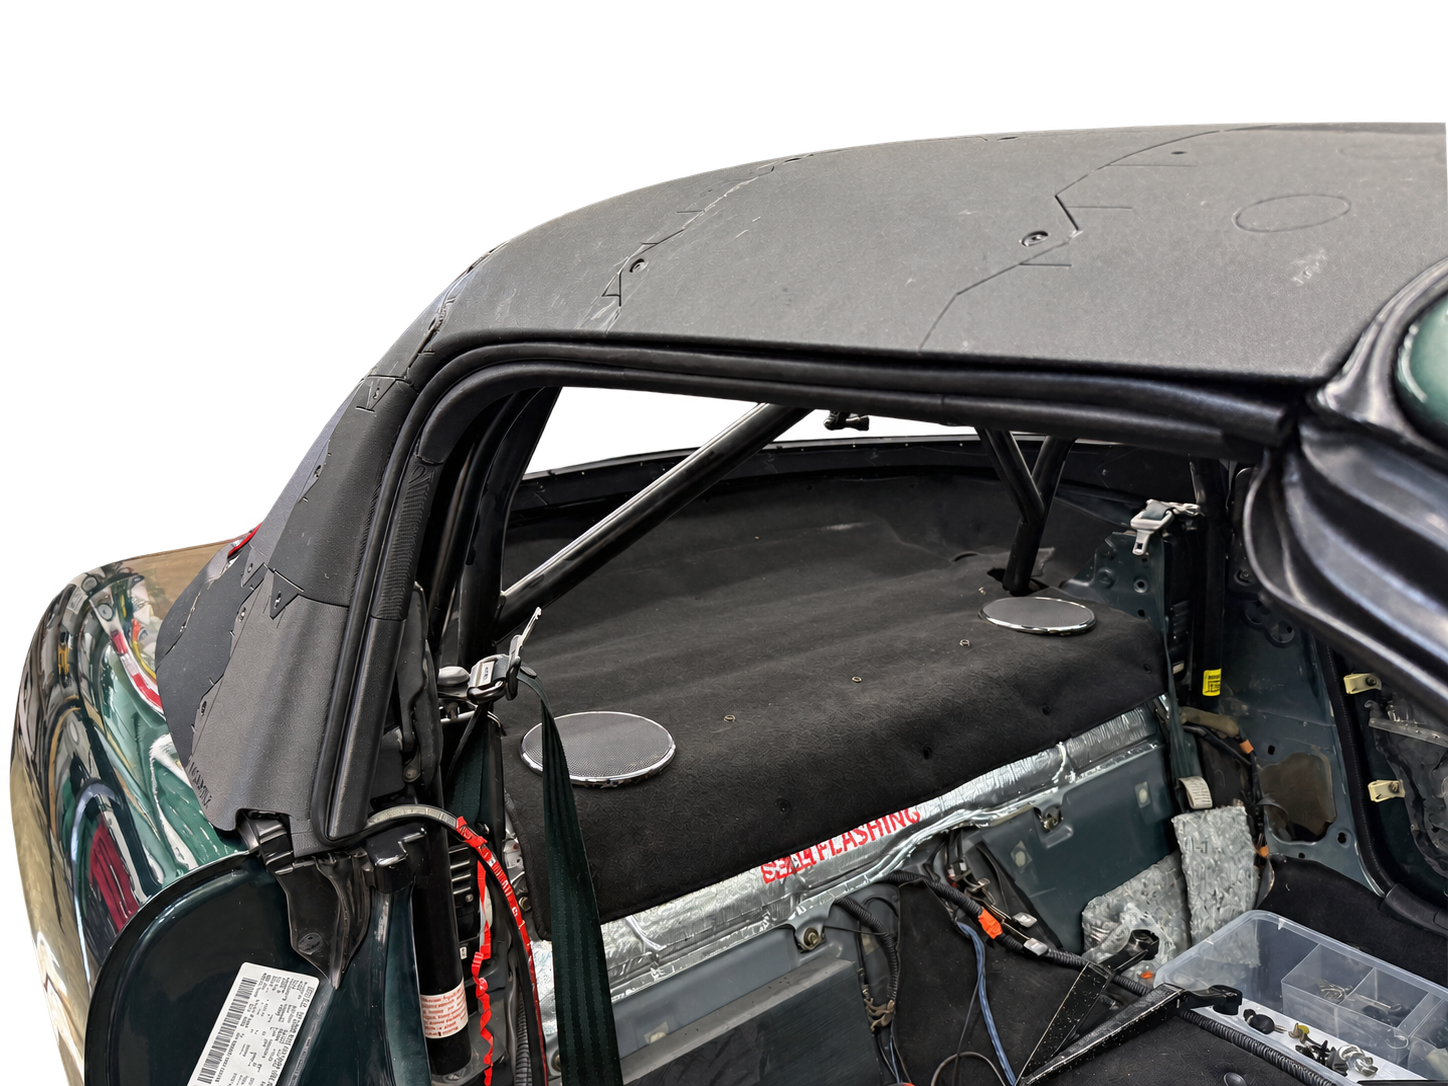
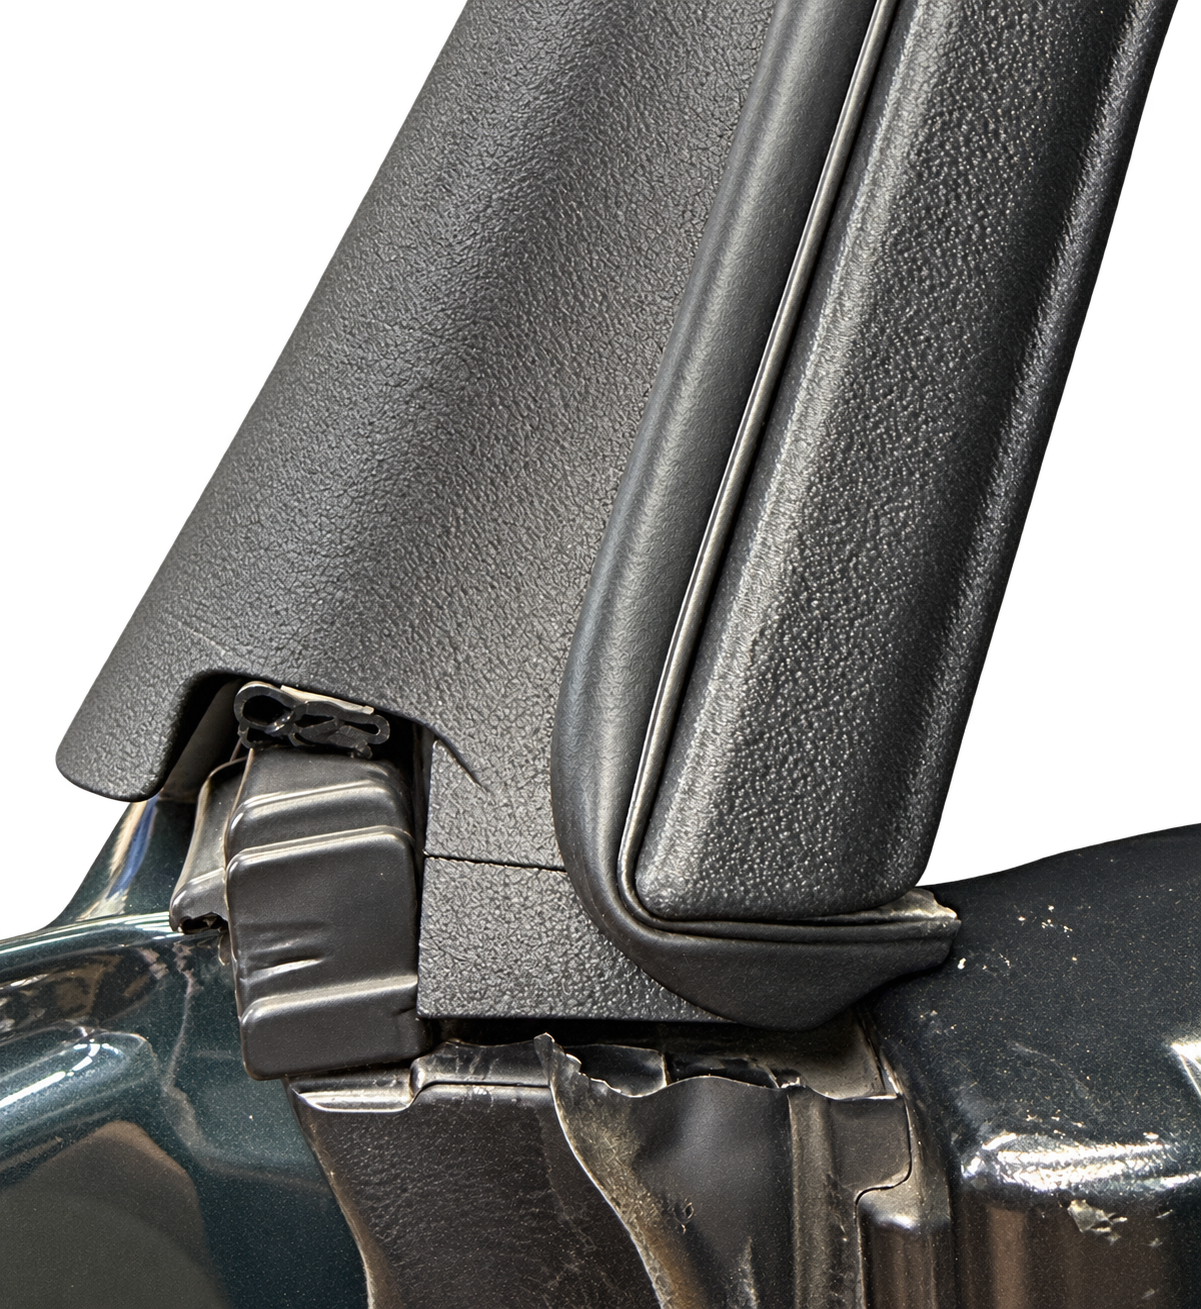
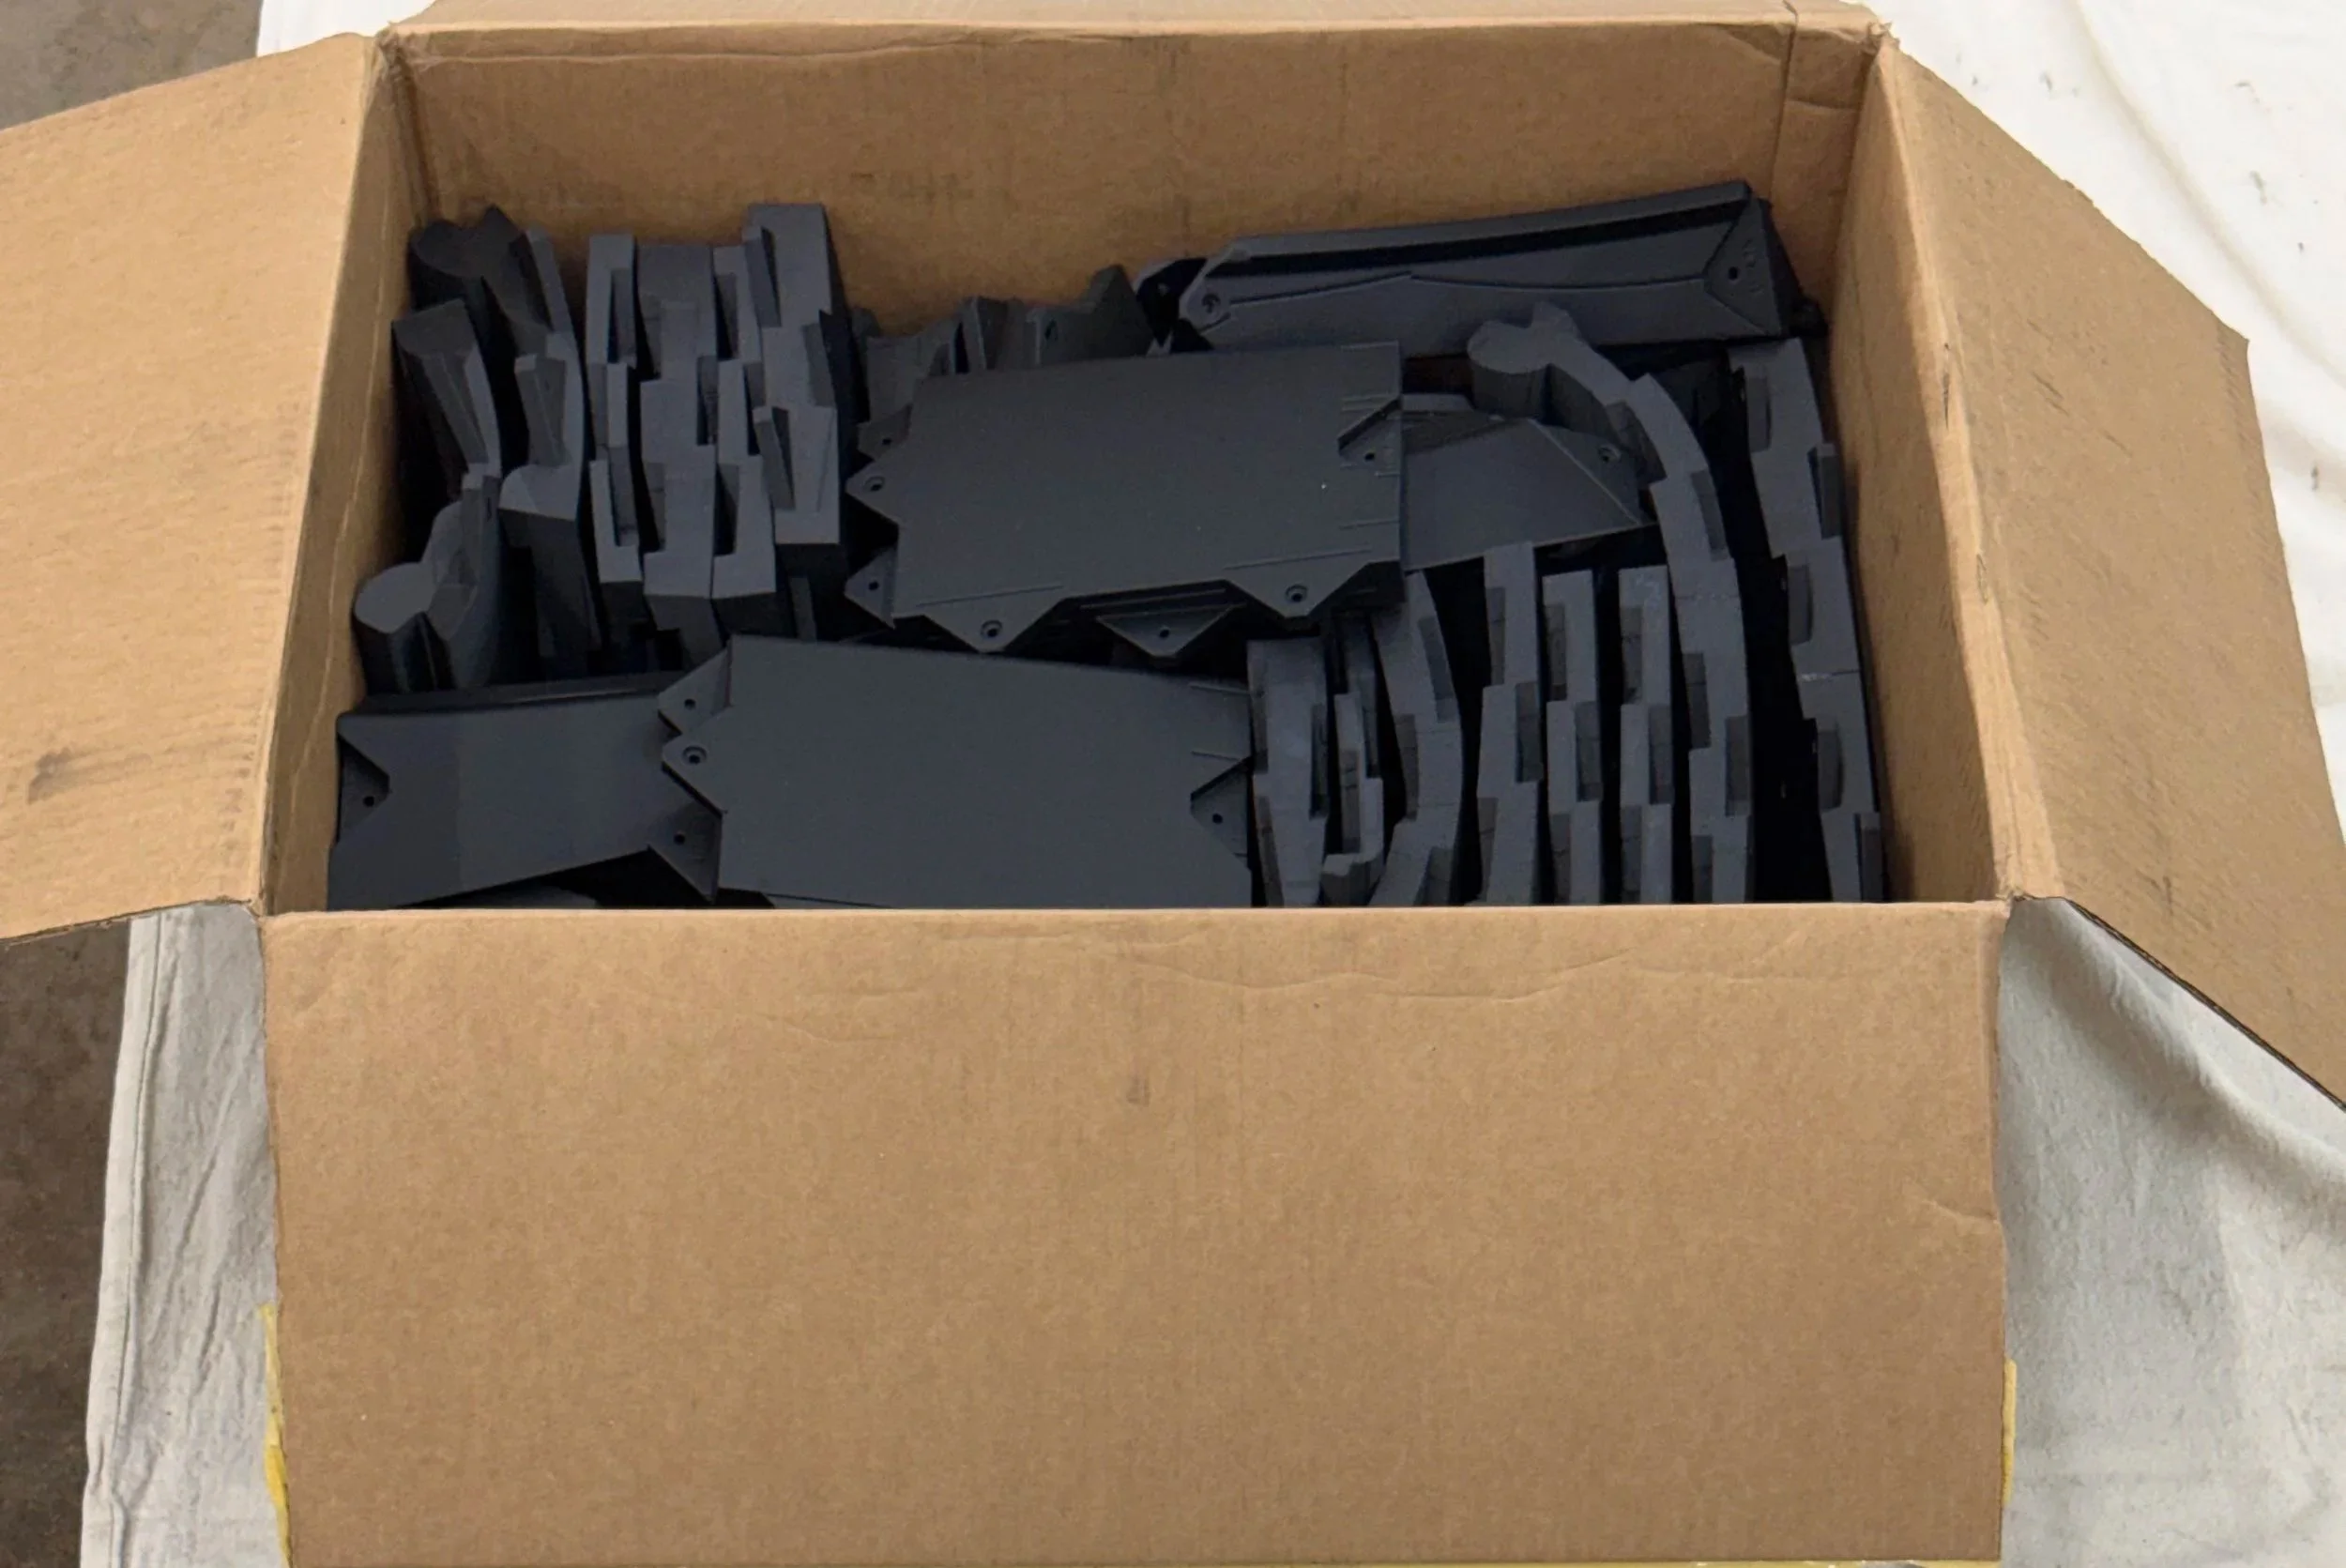
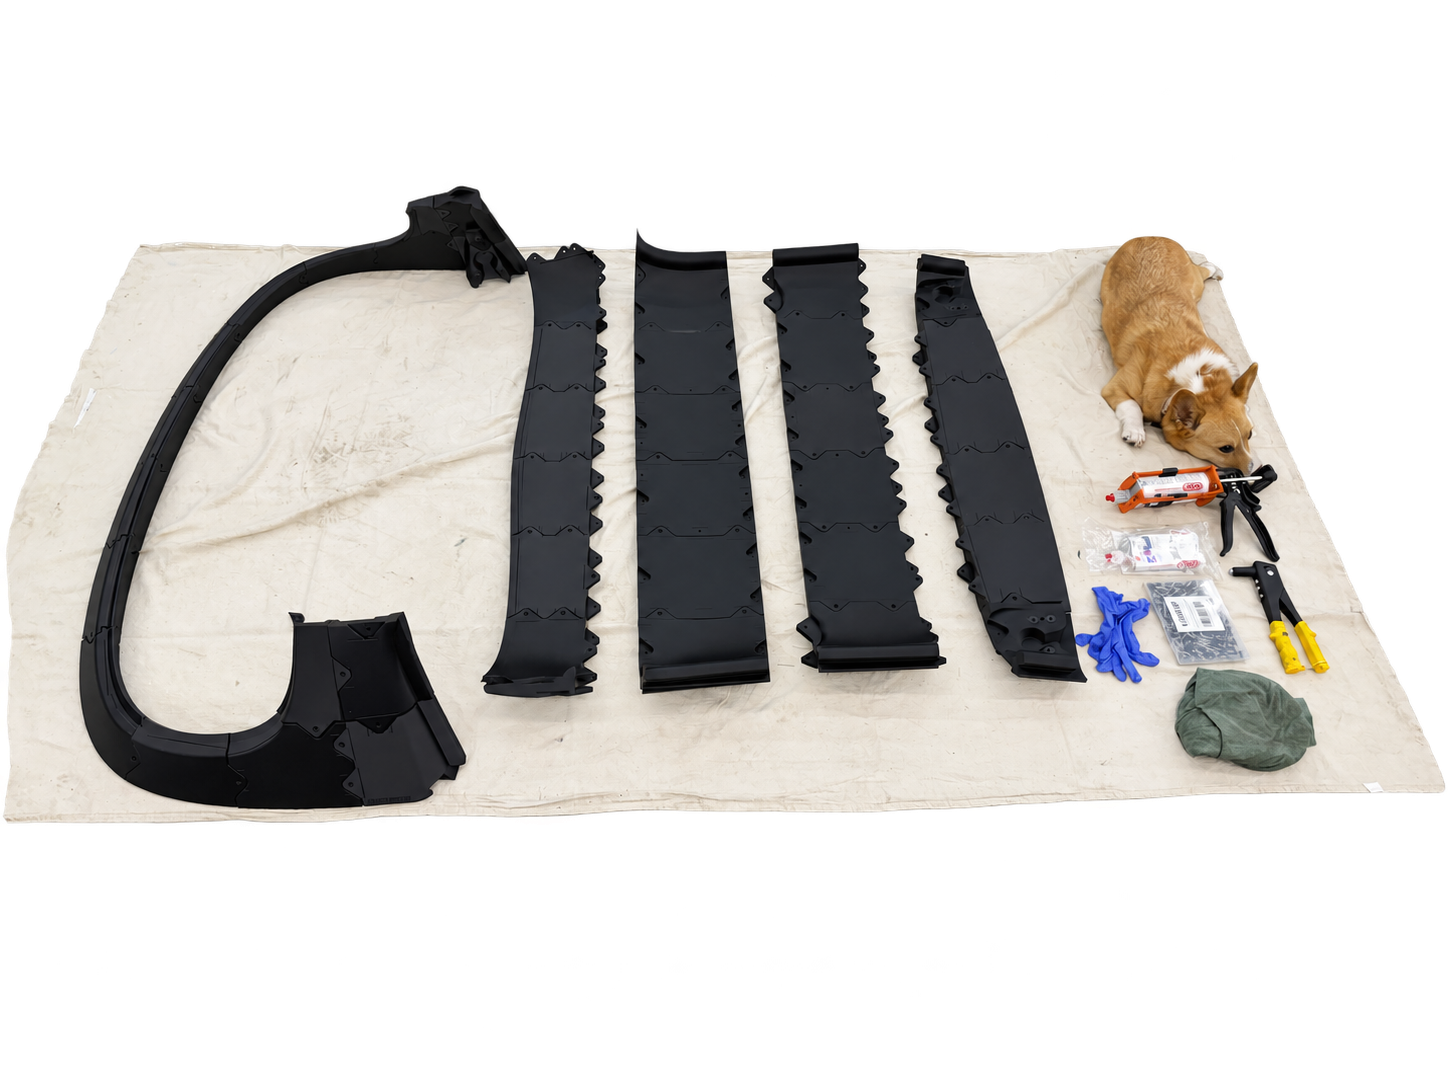
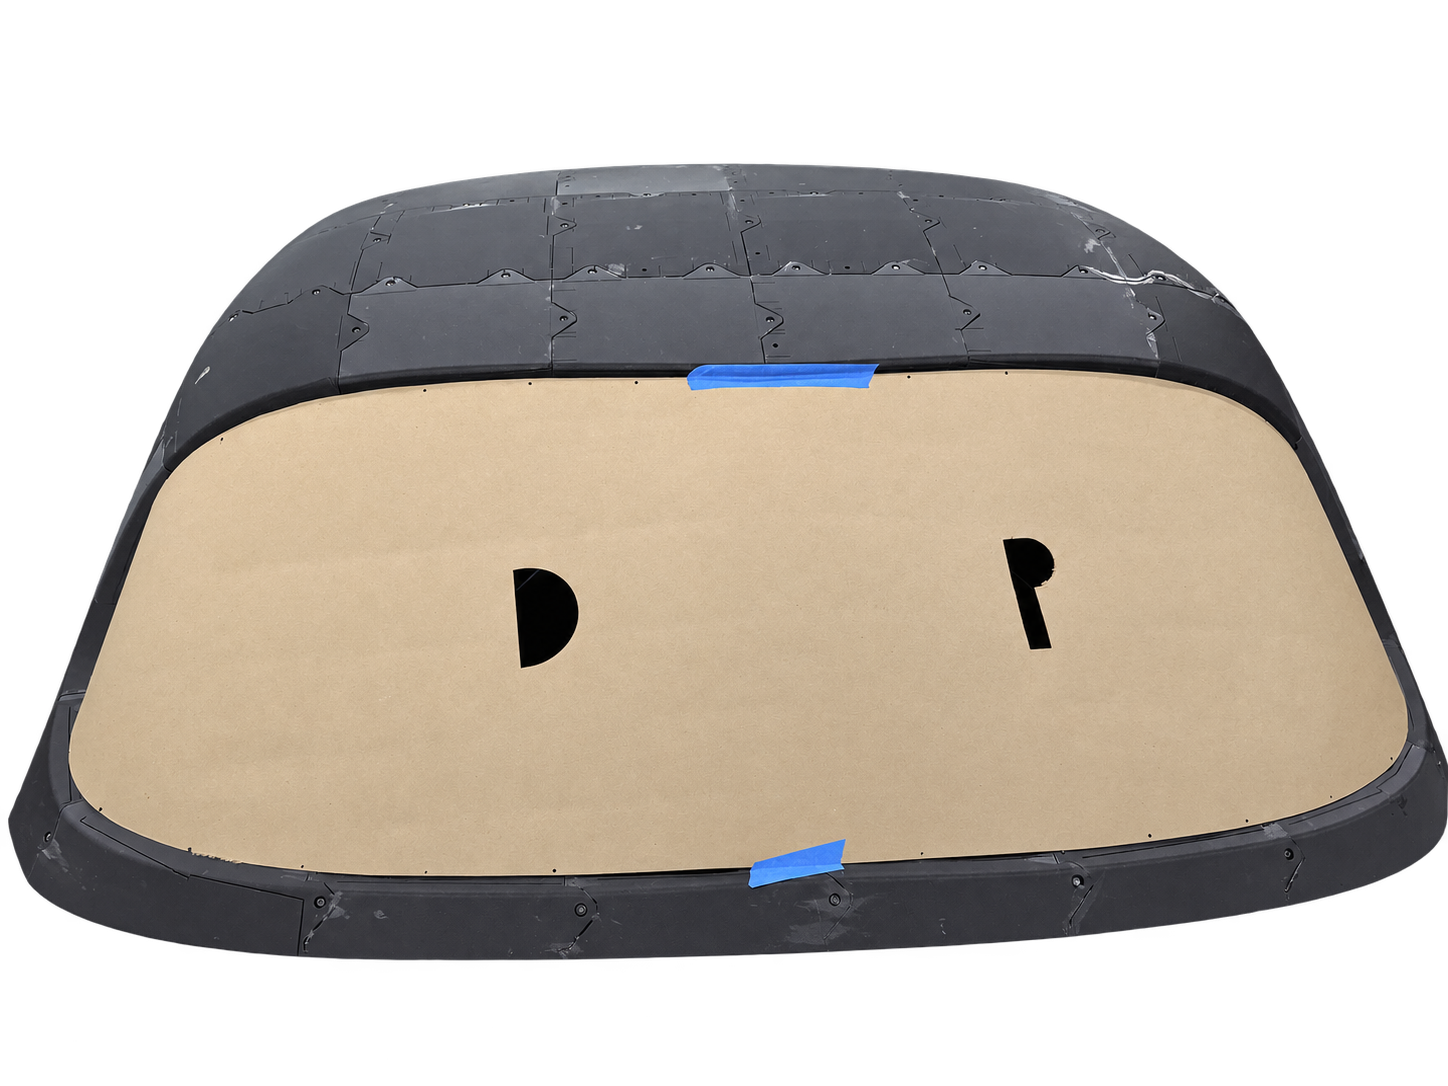
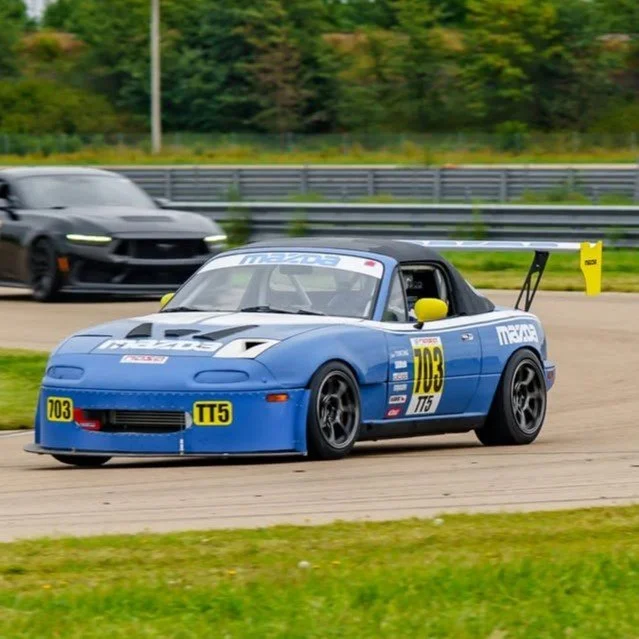
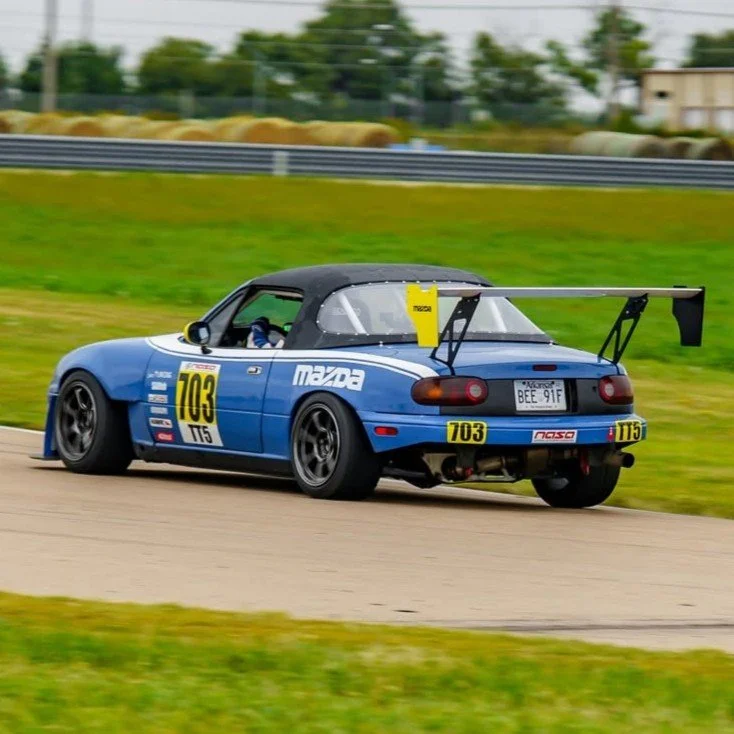
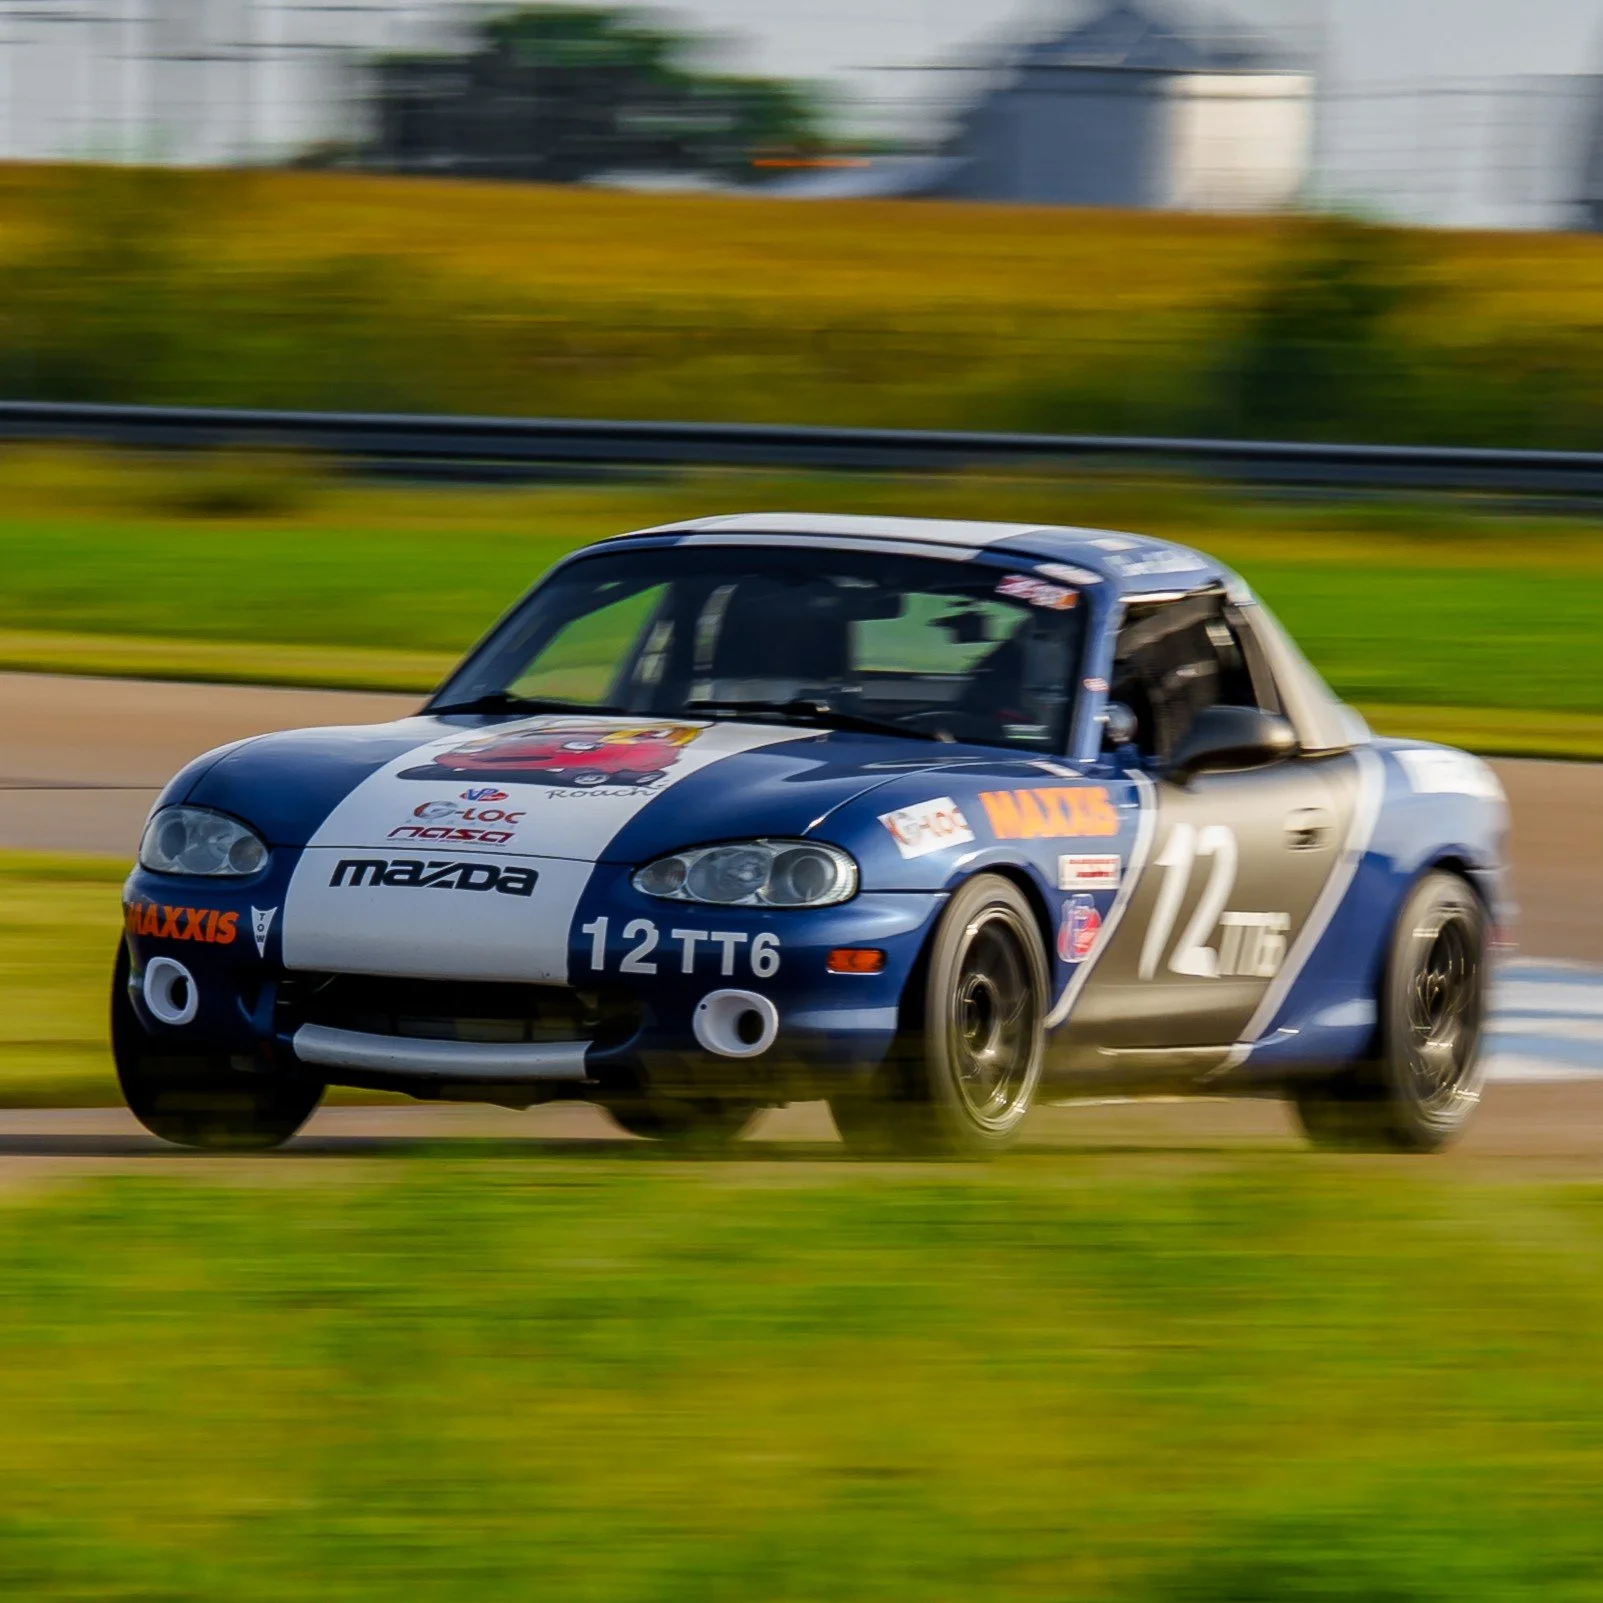
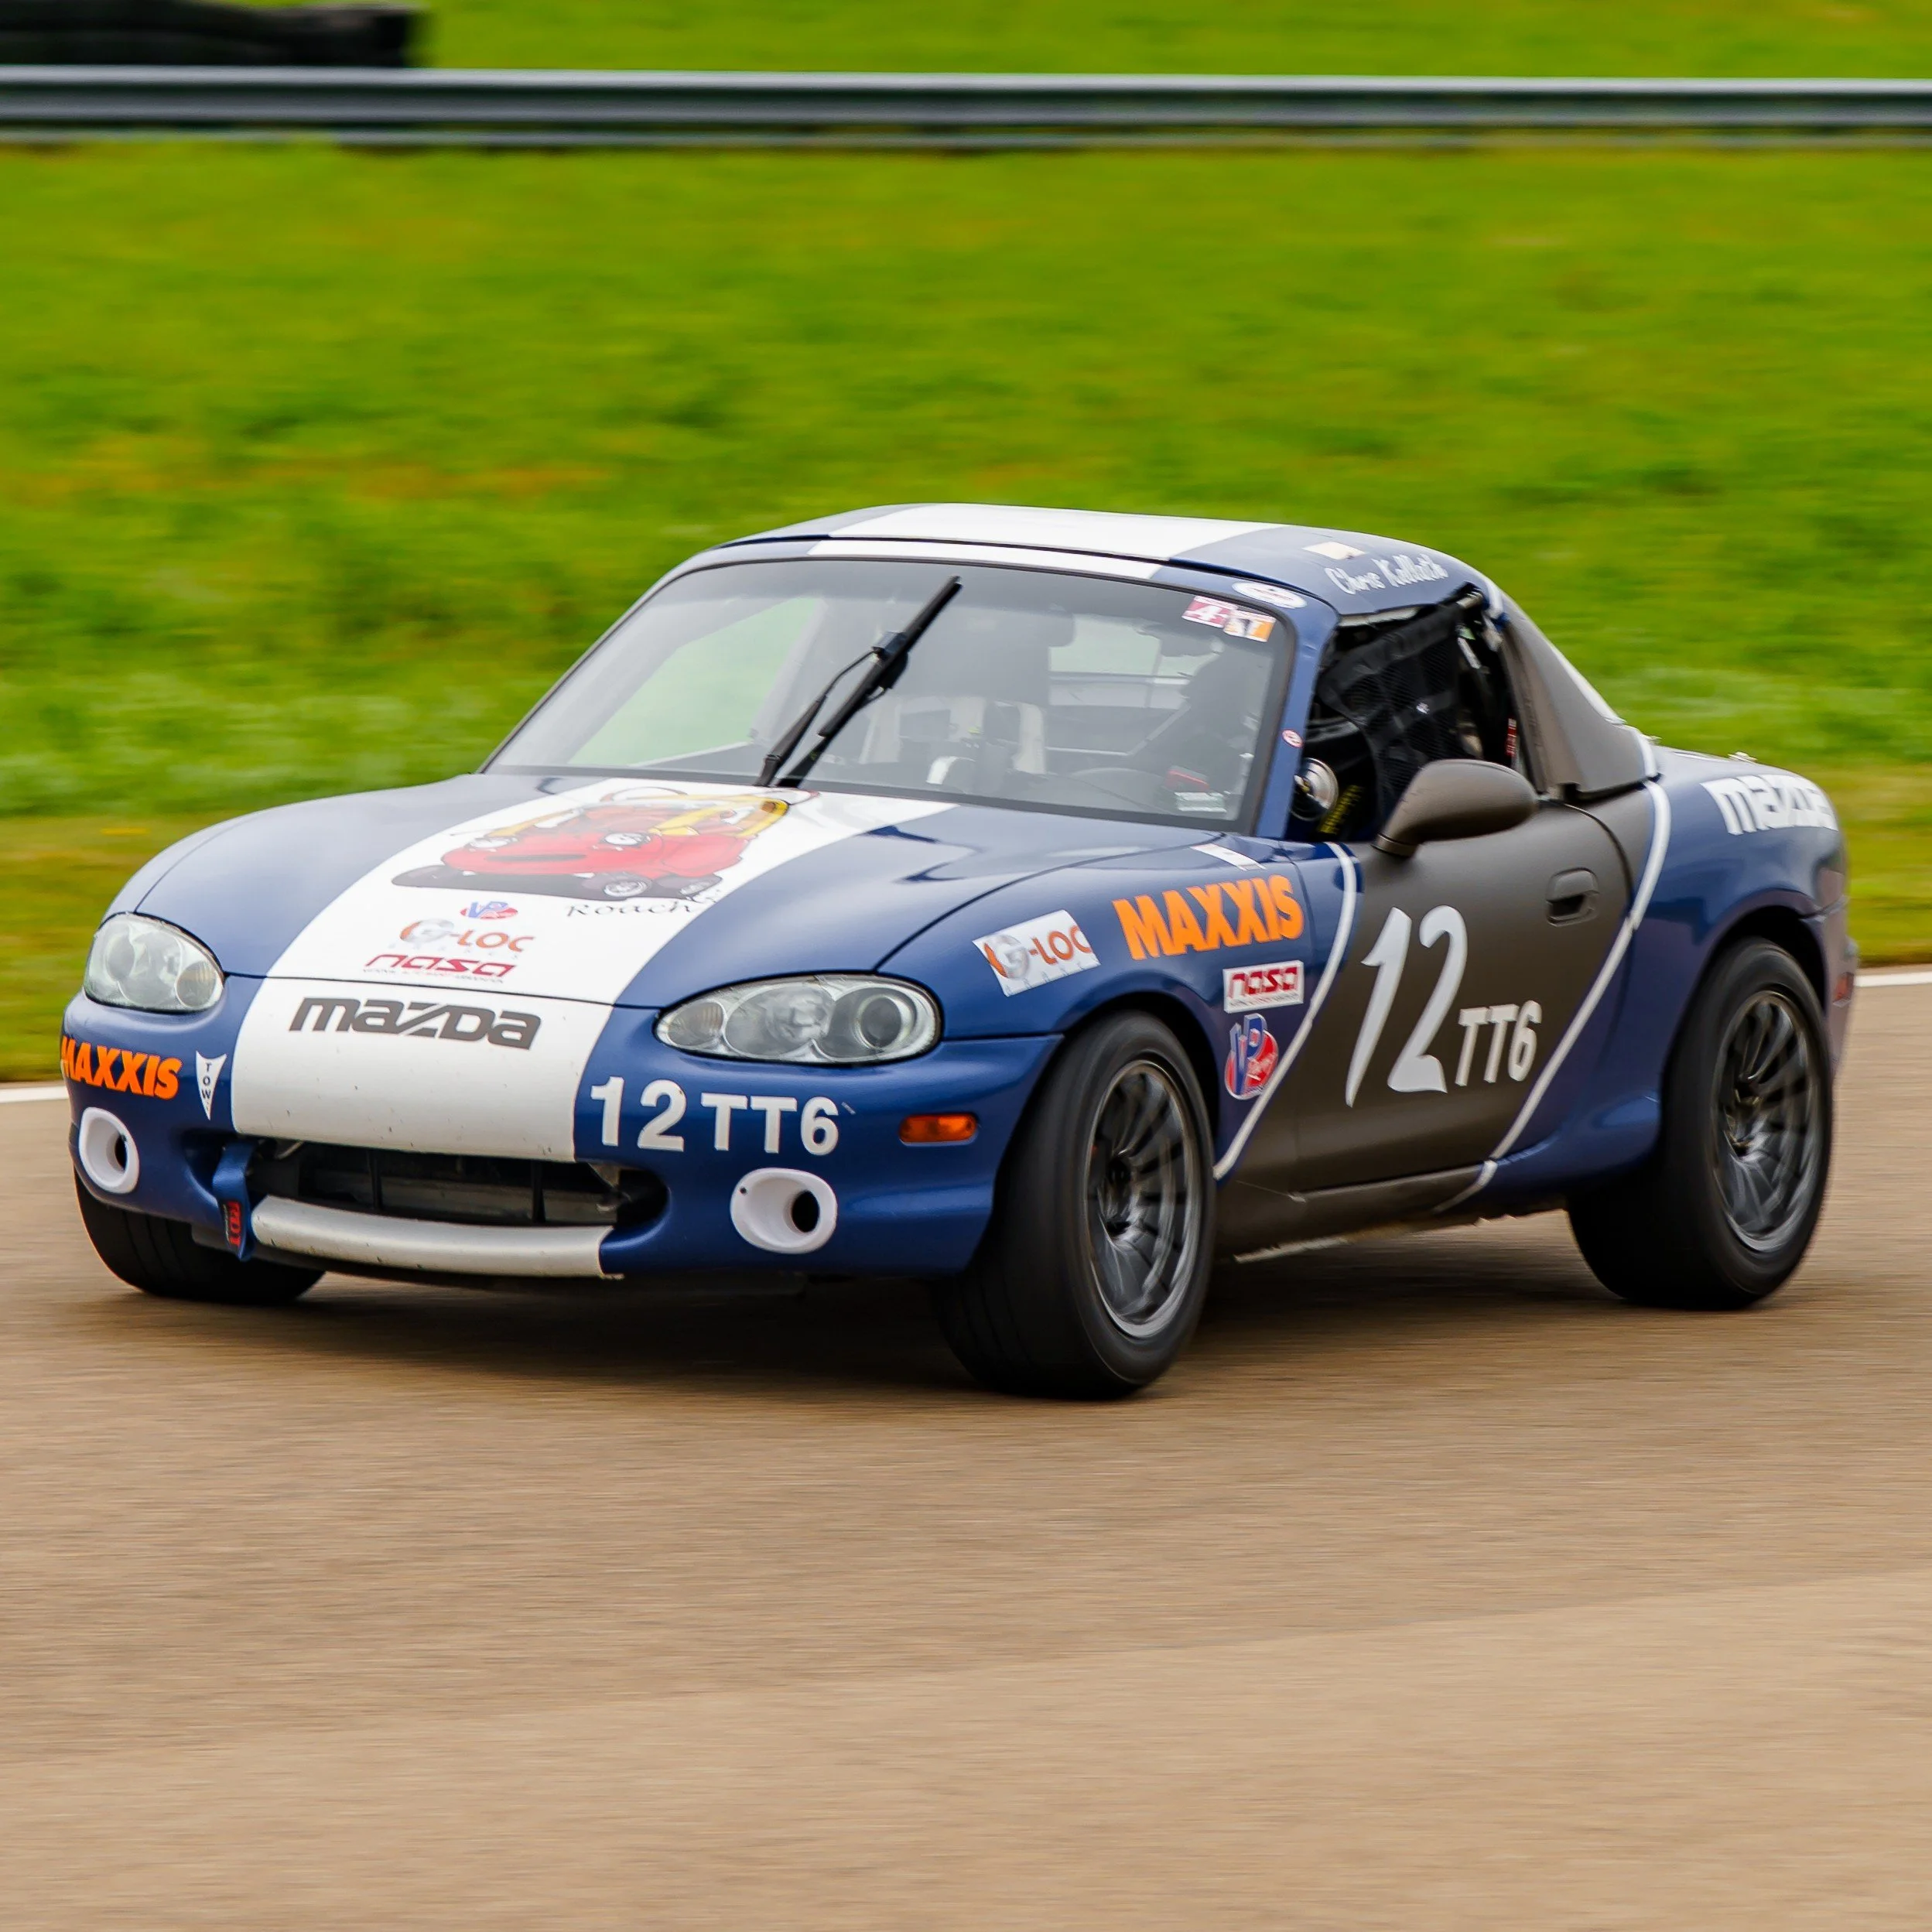
This is a 3D-printed hardtop that ships to you in sections for DIY assembly, dramatically reducing one of the biggest costs associated with buying a Miata hardtop: shipping.
A traditional fiberglass hardtop can easily cost $500 or more to freight ship. Because this top ships in individual pieces, typical shipping is only $50–$100 via UPS within the continental United States.
This hardtop is based on Inateno/Hina’s 3D-printed hardtop design and is produced under commercial license. After many iterations and thousands of hours of printing, testing, tuning, and assembly, I’ve made several improvements to the original design and developed a process that produces a strong, lightweight, and repeatable finished product.
In other words: you don’t have to print the top five times to figure out what works like I did.
Metal-reinforced mounting points
Metal nuts are now embedded directly into the printed mounting points, making them significantly stronger and more durable. With this improvement, I’m comfortable running the top using the factory-style mounting locations without additional reinforcement.
Carbon-fiber-reinforced ASA construction
After testing multiple materials, I settled on carbon-fiber-reinforced ASA. It offers an excellent combination of strength, heat resistance, UV resistance, dimensional stability, and layer adhesion—making it extremely well suited for an automotive hardtop.
Strength where it matters, without unnecessary weight
I’ve added several hundred print modifiers throughout the design to reinforce critical areas while minimizing material where it isn’t needed.
The result:
Lightweight Version: approximately 22.8 lb / 10.35 kg
BEEFY Version: approximately 30.9 lb / 14 kg
For comparison, a factory Miata hardtop weighs roughly 50 lb, making either version a substantial weight savings.
Lexan window template included
Every top includes a full-size paper template for cutting your rear window from Lexan/polycarbonate. The template also includes mounting-hole locations spaced every 100 mm, making fabrication and installation of the rear window much easier.
Detailed step-by-step assembly instructions
Each top includes detailed assembly instructions with photos, tips, and specific product recommendations. The goal is to remove as much guesswork as possible and make DIY assembly straightforward, even if you haven’t built a hardtop before.
Improved panel alignment
I corrected a misalignment between panels TOIT_15 and TOIT_16 that previously made this section of the top significantly more difficult to assemble.
This listing includes the printed hardtop pieces ONLY.
You will still need to purchase the additional components required for final assembly, including items such as: Panel adhesive, Rivets/hardware, Lexan/polycarbonate for the rear window, Mounting brackets, Weather seals, Paint, vinyl wrap, or other finishing materials.
The exact cost will depend on the hardware and finishing method you choose, but I recommend budgeting approximately $200–$500 for the remaining components.
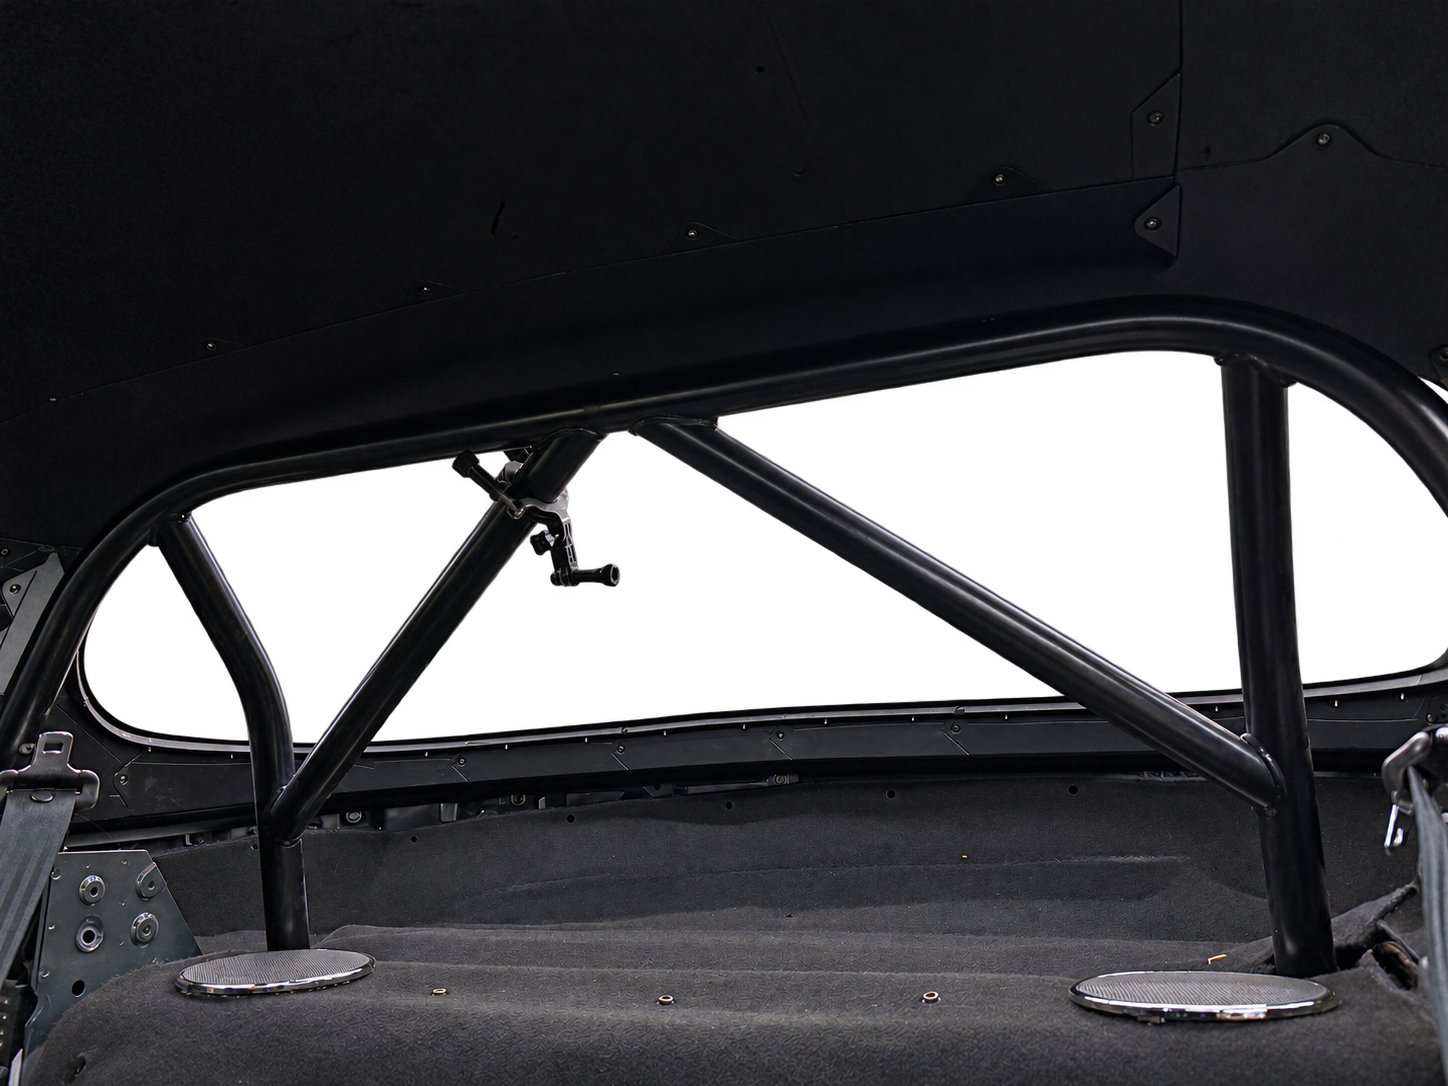
This hardtop fits slightly tighter than a factory hardtop around the roll cage.
It fits well on my car with a Hard Dog Sport roll bar, but cars equipped with custom cages, unusual roll bars, or other interior modifications may require some trimming or custom clearancing.
Because these cars and aftermarket roll-bar/cage configurations vary considerably, universal clearance cannot be guaranteed.
The BEEFY version uses approximately twice the wall thickness and infill of the Lightweight version. In bench testing, a BEEFY panel required nearly three times as much force to break as the Lightweight panel.
Choose the Lightweight Version if:
Your car is primarily track-focused, every pound matters, and the hardtop will generally remain installed on the car.
Choose the BEEFY Version if:
You expect to remove and reinstall the hardtop regularly, want additional resistance to handling damage, or plan to perform bodywork and paint preparation.
Production capacity will be limited initially. At launch, I expect to manufacture approximately two hardtops per month.
If demand remains strong, I plan to add additional printers and increase production capacity.
If the hardtop is currently out of stock, please fill out the Hardtop Waitlist form. I’ll contact you when another top becomes available.
This is a 3D-printed hardtop that ships to you in sections for DIY assembly, dramatically reducing one of the biggest costs associated with buying a Miata hardtop: shipping.
A traditional fiberglass hardtop can easily cost $500 or more to freight ship. Because this top ships in individual pieces, typical shipping is only $50–$100 via UPS within the continental United States.
This hardtop is based on Inateno/Hina’s 3D-printed hardtop design and is produced under commercial license. After many iterations and thousands of hours of printing, testing, tuning, and assembly, I’ve made several improvements to the original design and developed a process that produces a strong, lightweight, and repeatable finished product.
In other words: you don’t have to print the top five times to figure out what works like I did.
Metal-reinforced mounting points
Metal nuts are now embedded directly into the printed mounting points, making them significantly stronger and more durable. With this improvement, I’m comfortable running the top using the factory-style mounting locations without additional reinforcement.
Carbon-fiber-reinforced ASA construction
After testing multiple materials, I settled on carbon-fiber-reinforced ASA. It offers an excellent combination of strength, heat resistance, UV resistance, dimensional stability, and layer adhesion—making it extremely well suited for an automotive hardtop.
Strength where it matters, without unnecessary weight
I’ve added several hundred print modifiers throughout the design to reinforce critical areas while minimizing material where it isn’t needed.
The result:
Lightweight Version: approximately 22.8 lb / 10.35 kg
BEEFY Version: approximately 30.9 lb / 14 kg
For comparison, a factory Miata hardtop weighs roughly 50 lb, making either version a substantial weight savings.
Lexan window template included
Every top includes a full-size paper template for cutting your rear window from Lexan/polycarbonate. The template also includes mounting-hole locations spaced every 100 mm, making fabrication and installation of the rear window much easier.
Detailed step-by-step assembly instructions
Each top includes detailed assembly instructions with photos, tips, and specific product recommendations. The goal is to remove as much guesswork as possible and make DIY assembly straightforward, even if you haven’t built a hardtop before.
Improved panel alignment
I corrected a misalignment between panels TOIT_15 and TOIT_16 that previously made this section of the top significantly more difficult to assemble.
This listing includes the printed hardtop pieces ONLY.
You will still need to purchase the additional components required for final assembly, including items such as: Panel adhesive, Rivets/hardware, Lexan/polycarbonate for the rear window, Mounting brackets, Weather seals, Paint, vinyl wrap, or other finishing materials.
The exact cost will depend on the hardware and finishing method you choose, but I recommend budgeting approximately $200–$500 for the remaining components.
This hardtop fits slightly tighter than a factory hardtop around the roll cage.
It fits well on my car with a Hard Dog Sport roll bar, but cars equipped with custom cages, unusual roll bars, or other interior modifications may require some trimming or custom clearancing.
Because these cars and aftermarket roll-bar/cage configurations vary considerably, universal clearance cannot be guaranteed.
The BEEFY version uses approximately twice the wall thickness and infill of the Lightweight version. In bench testing, a BEEFY panel required nearly three times as much force to break as the Lightweight panel.
Choose the Lightweight Version if:
Your car is primarily track-focused, every pound matters, and the hardtop will generally remain installed on the car.
Choose the BEEFY Version if:
You expect to remove and reinstall the hardtop regularly, want additional resistance to handling damage, or plan to perform bodywork and paint preparation.
Production capacity will be limited initially. At launch, I expect to manufacture approximately two hardtops per month.
If demand remains strong, I plan to add additional printers and increase production capacity.
If the hardtop is currently out of stock, please fill out the Hardtop Waitlist form. I’ll contact you when another top becomes available.